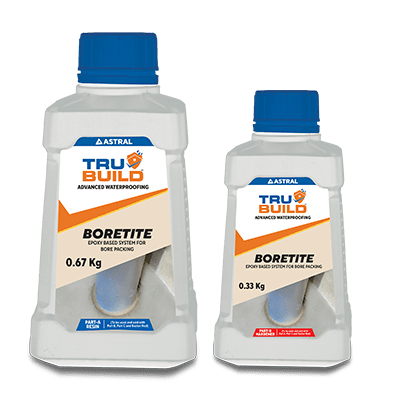

Professional Sealants
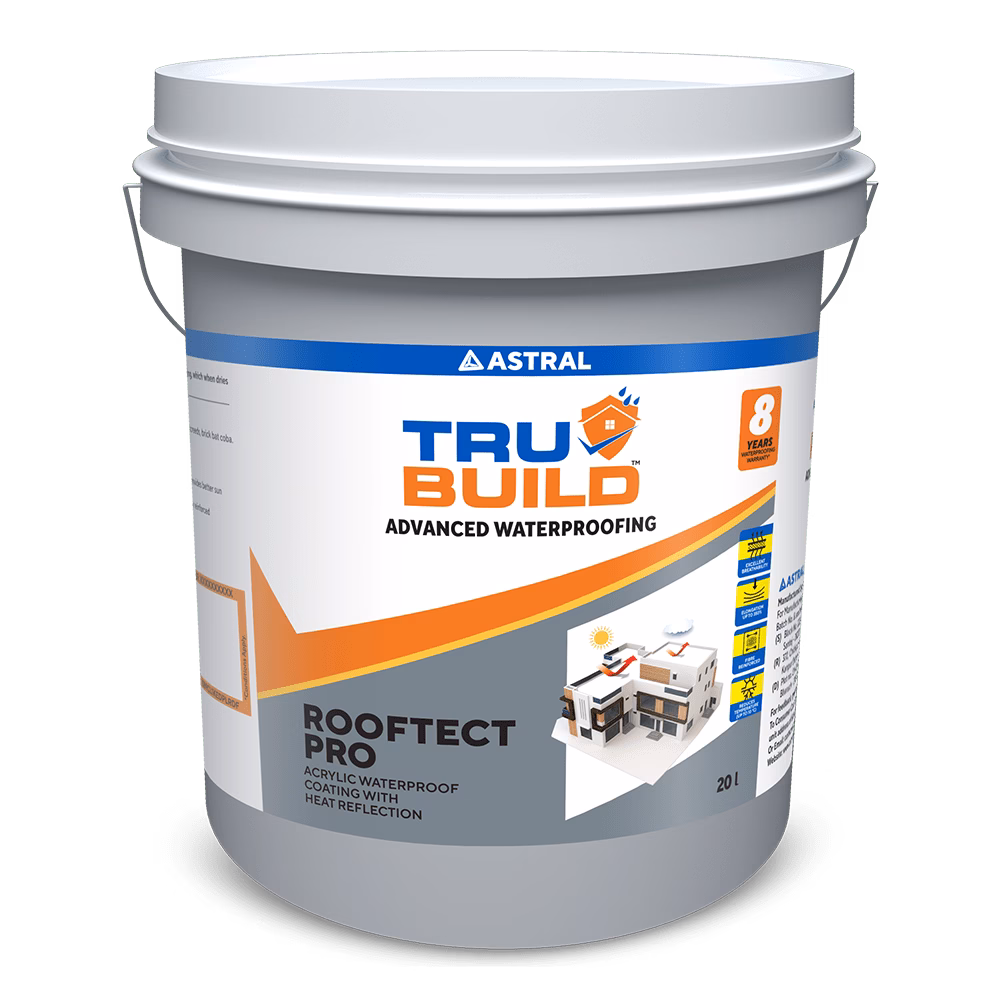
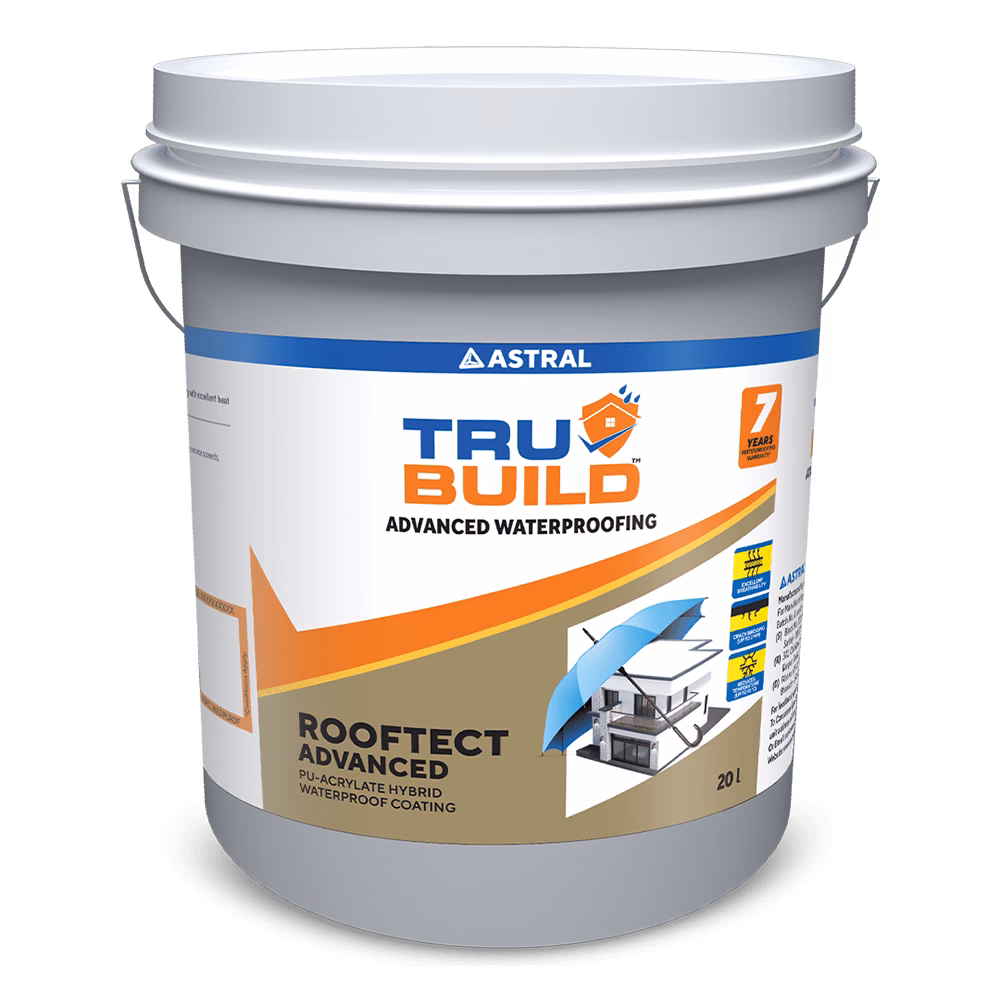
Roof Waterproofing
Substructure Waterproofing
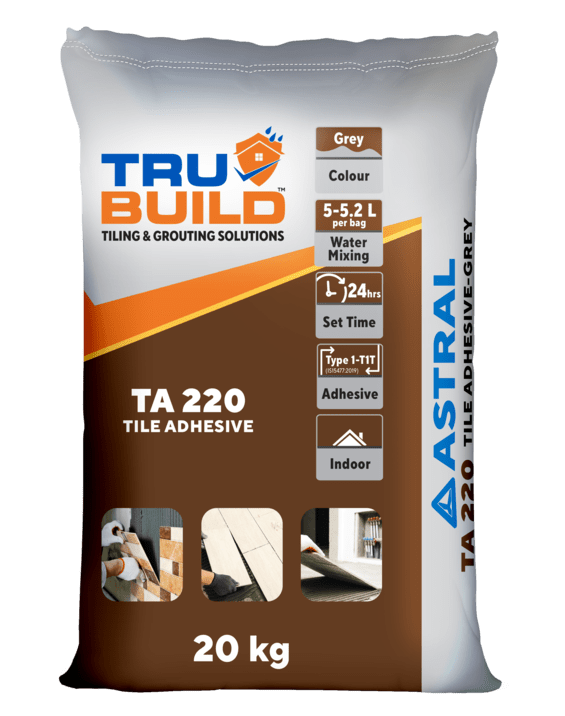
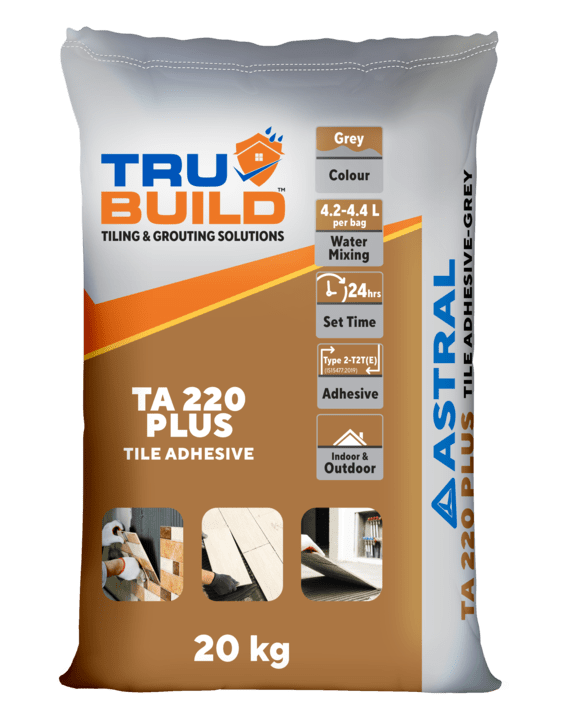
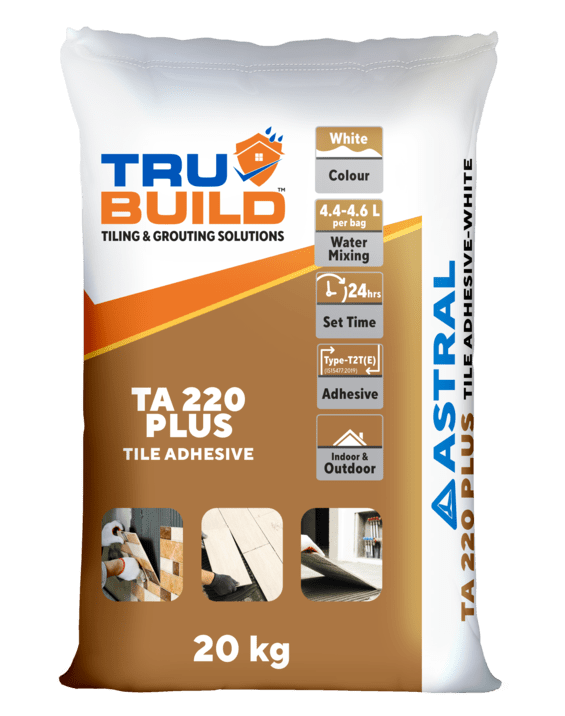
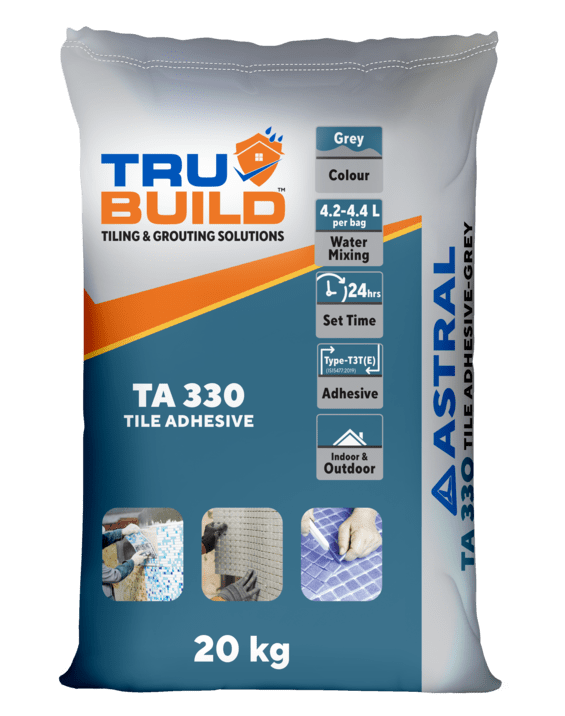
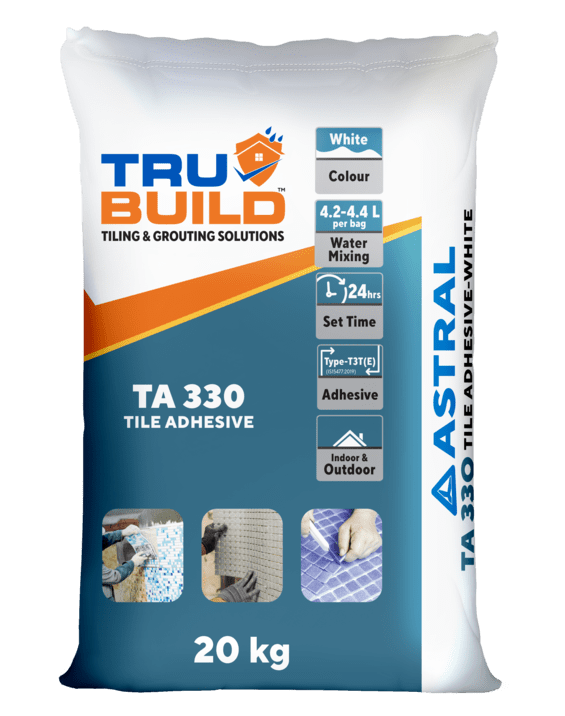
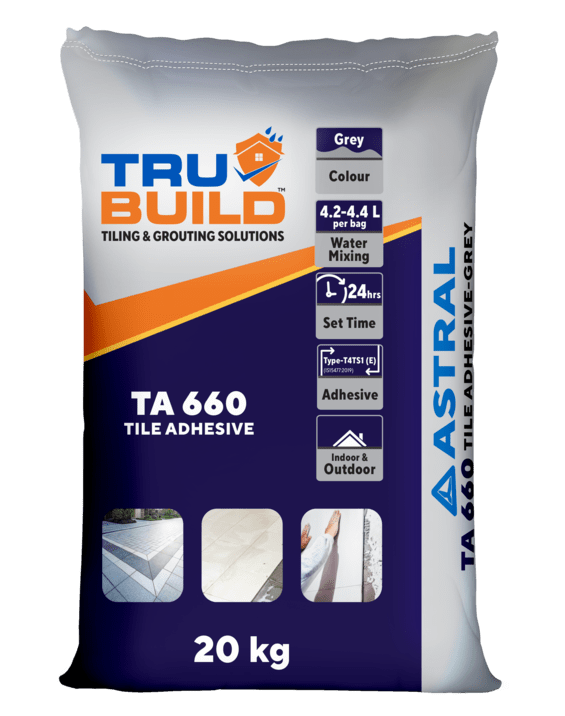
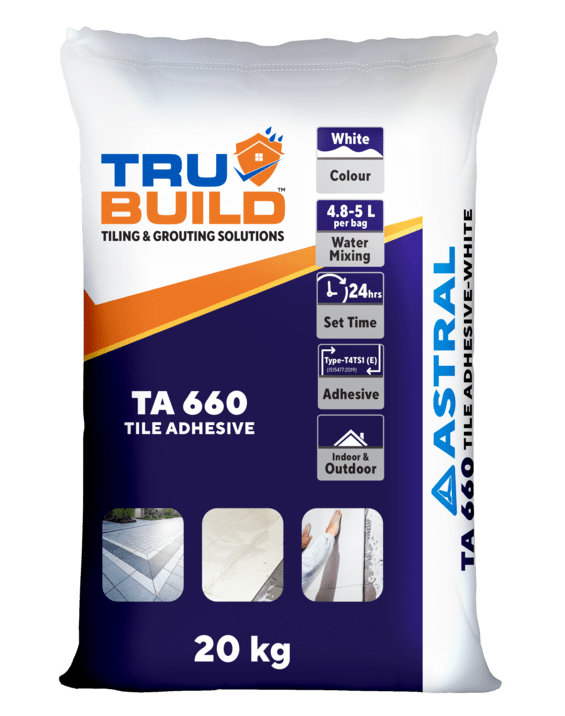
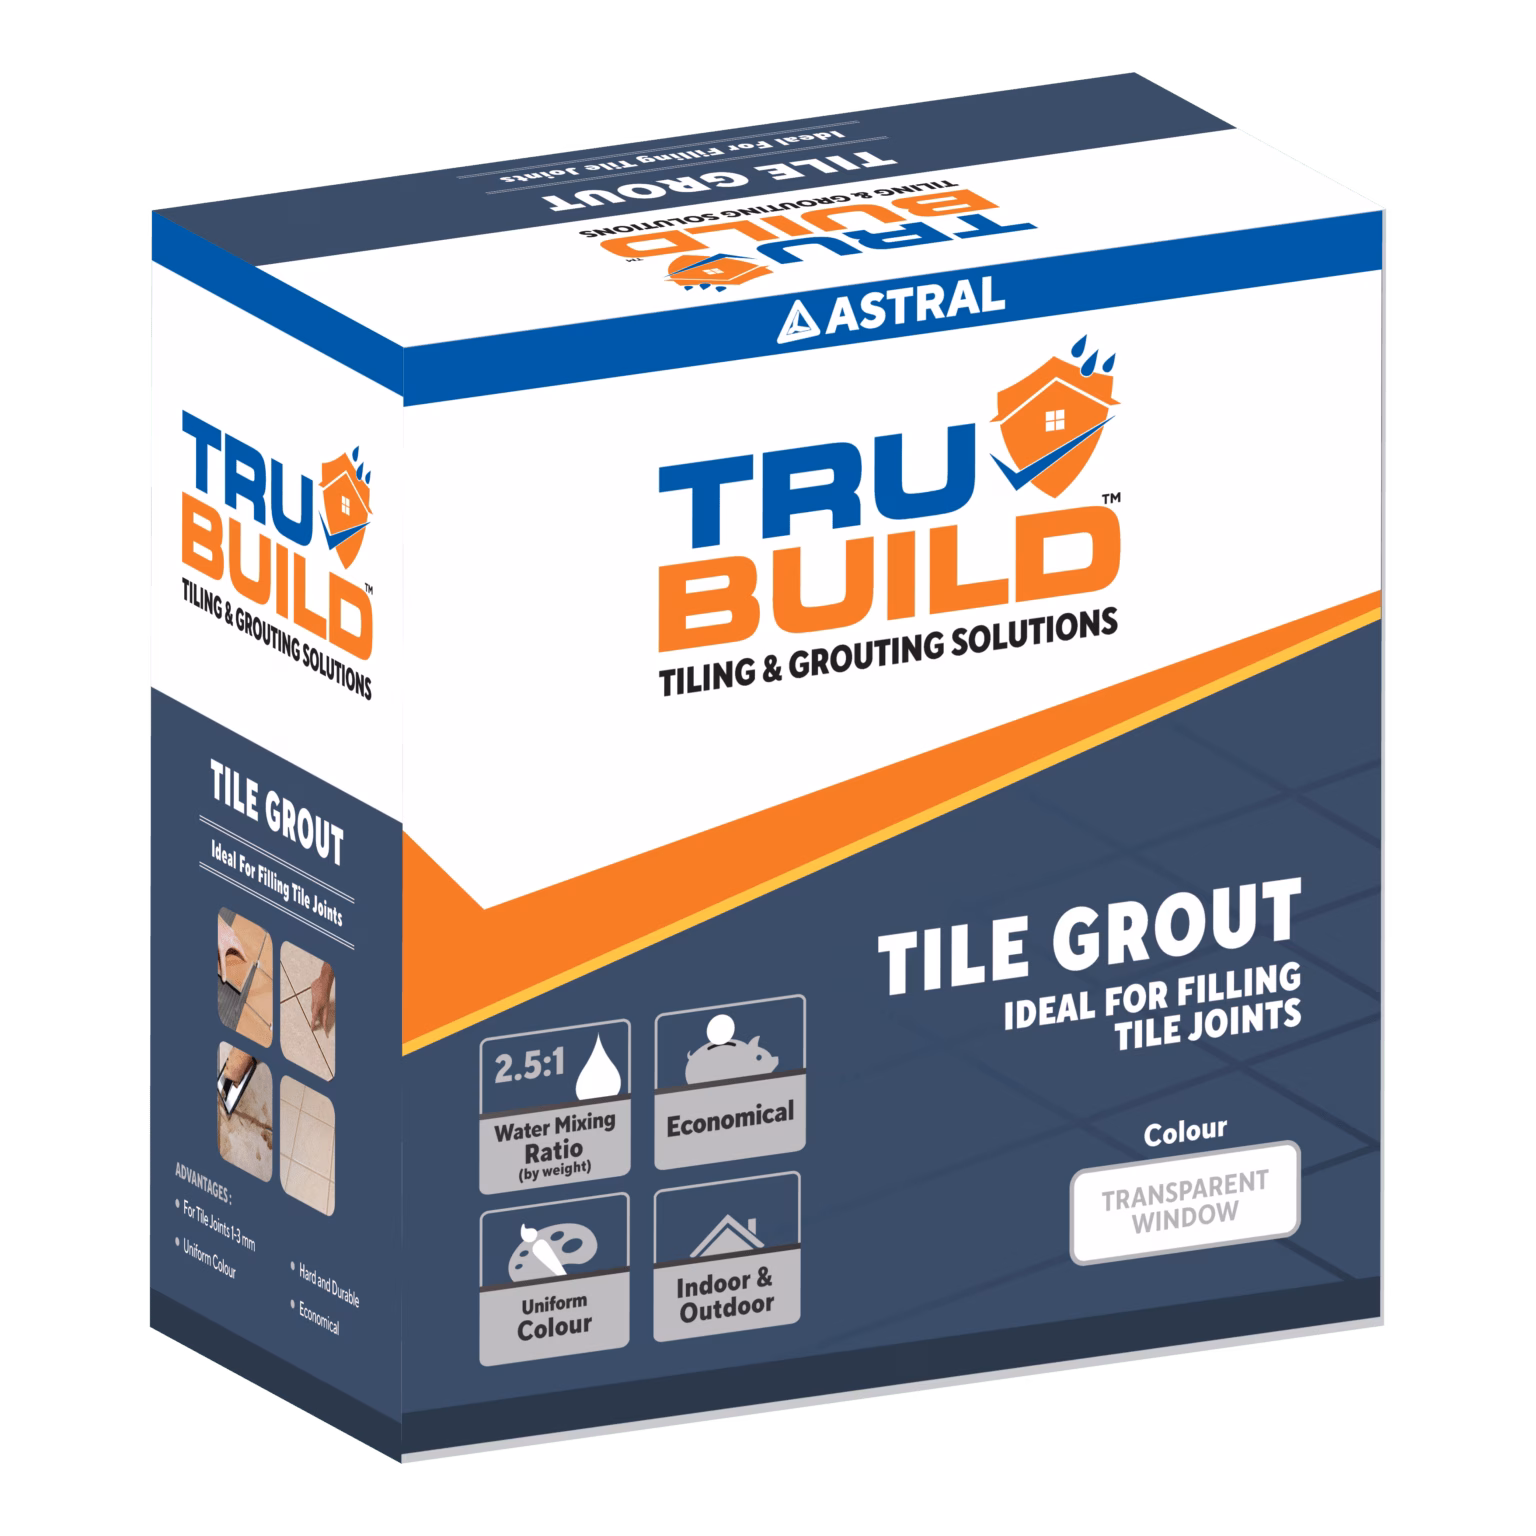
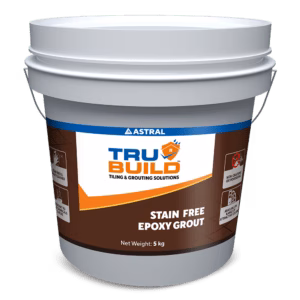
Tiling and Grouting
Water Tanks and Other Areas
Find our latest products & Unleash the Waterproofing Powerhouse for All Your Surfaces!


Easy Application, Fast Results – Excellent Performance Guaranteed!

Wet areas waterproofing refers to the use of protective materials that are made to block moisture infiltration in spaces exposed to frequent water contact, such as bathrooms, kitchens, basements and terraces. Without proper treatment, these zones risk structural damage, mould growth and costly repairs. Effective waterproofing creates an impermeable barrier that preserves both the durability and aesthetics of your space.
Modern waterproofing solutions for wet areas include cement-based coatings, liquid membranes, sheet systems and polyurethane applications. Regardless of the method, the goal remains the same: building a seamless, long-lasting moisture shield across floors, walls and joints.
Constant water exposure can deteriorate concrete, corrode reinforcement steel and weaken building foundations. Bathroom waterproofing, terrace waterproofing and basement waterproofing prevent cracks and long-term structural instability by keeping surfaces dry.
Unchecked dampness promotes the growth of mould, mildew and bacteria. These can trigger allergies and respiratory issues. By maintaining proper wet area moisture protection, homeowners ensure cleaner, healthier environments.
The cost of wet area waterproofing is lower than repairing water damage. Replacing tiles, fixing leaking pipes or treating mould can be five to ten times more expensive. Proper systems also help maintain property value and make resale processes easier.
Deteriorated bathroom grout, peeling paint, efflorescence on walls and loose tiles are early signs of poor waterproofing. In basements, rising damp and musty odours signal groundwater infiltration. On terraces, leakage through parapet joints shows that waterproof coating failure has begun.
Bathrooms face continuous exposure from showers, sinks and bathtubs. Effective waterproofing for bathroom floors extends up walls to form a watertight “tanking” barrier. Special care goes to corners, joints and bathroom grout lines.
A step-by-step waterproofing for bathrooms typically includes priming surfaces, applying liquid membrane coats, sealing junctions with mesh reinforcement and conducting a flood test before tiling. Wet room waterproofing in modern open-shower layouts is especially essential to ensure that water flows toward drains without seeping into structures.
Kitchen waterproofing safeguards areas near sinks, dishwashers and plumbing joints. Small leaks or spills often go unnoticed. But waterproofing for kitchens prevents moisture from damaging subfloors and cabinetry. It is best to waterproof floors within two meters of wet appliances. This reinforces the area under counters with a waterproof coating.
Basement waterproofing protects against groundwater seepage and structural dampness. Both internal and external sides of basement walls need treatment to handle hydrostatic pressure. Common systems include crystalline coatings or flexible liquid membranes that bond tightly with concrete. This is essential to prevent wet area waterproofing problems like wall blistering or floor dampness.
Terrace waterproofing shields flat roofs from rainwater penetration. High-quality membranes with UV-resistant topcoats prevent leaks through cracks or parapet joints. Creating a minimum slope of 1:100 toward outlets ensures water does not pool. Similarly, balcony waterproofing must combine proper drainage with flexible waterproofing types for wet areas to withstand outdoor temperature variations.
Laundry spaces and utility rooms also need wet area moisture protection, especially around washing machines and water heaters. Applying waterproof coating to floors and sealing pipe penetrations prevents unnoticed seepage that may lead to hidden dampness.
Knowing how to waterproof wet areas depends on surface type, desired durability and ambient conditions. Here’s a quick breakdown of the professional application process.
Ensure all walls and floors are clean, dry and free of oil, dust or old paint. Fix cracks using polymer-modified mortar and repair plumbing leaks before starting. Proper preparation ensures strong adhesion and prevents premature membrane failure.
Form correct floor slopes (minimum 1 in 100) toward drains so water flows out quickly. Use mortar coves at floor-wall junctions to remove sharp edges. The edges help reduce membrane stress and leakage risk.
A primer enhances bonding between the substrate and waterproofing membrane. The right primer also seals surface porosity and prevents pinholes that cause future leaks.
For bathroom waterproofing, apply two to three coats of liquid membrane evenly using a roller or brush. Reinforce corners and junctions with waterproofing tape embedded into the first coat. Each successive coat should run perpendicular for uniform thickness.
Once cured, seal pipe entry points, corners and fixture bases using silicone or polyurethane sealants. Conduct a flood test by filling the area with 50–75 mm of water for 24–48 hours. If no leakage is detected, the area is ready for tiling or final finishes.
Even premium-grade systems can fail due to poor workmanship or neglect. Understanding common waterproofing issues ensures proactive protection.
Recognising early warning signs, such as musty odours, discolouration and damp patches, helps you to address minor wet area waterproofing problems before they escalate.
Overall, waterproofing solutions for wet areas act as silent guardians that maintain comfort, hygiene and structural safety for years.
Even the best waterproofing systems need regular checks and minor upkeep to stay effective.
Review bathrooms, terraces and basements every six months. Look for cracks, blistering or peeling. These are early signs that your wet areas waterproofing needs attention. Focus on corners, drains and joints.
Keep grout lines clean and resealed annually. Use pH-neutral cleaners to avoid damaging sealants. Regrouting where needed preserves the effectiveness of waterproofing for bathroom floors.
Inspect terrace outlets, balcony scuppers and bathroom drains. Blocked drains create pooling that stresses the waterproofing layer. Rainwater must flow freely to preserve your terrace and basement waterproofing systems.
Sealant renewal every 12–18 months around sinks, toilets and bathtubs ensures watertight joints. Old or mouldy sealant should be fully removed and replaced for maximum wet area moisture protection.
Humidity buildup weakens any waterproofing over time. Install high-efficiency exhaust fans in bathrooms and utility areas to aid drying and minimise condensation damage.
Loose or cracked tiles can reveal membrane damage below. Fix them promptly to stop water from infiltrating. For terraces, reapply waterproof coating or topcoat every few years to restore UV protection.
Hire specialists every three to five years to evaluate system health. Using moisture meters, they can detect invisible leaks behind tiles or walls. Early detection reduces the overall cost of wet area waterproofing maintenance significantly.
Wet area waterproofing is a long-term investment in the building’s health, hygiene and sustainability. From kitchen waterproofing that prevents cabinetry decay to basement waterproofing that keeps foundations dry, these measures ensure comfort and peace of mind.
With multiple waterproofing types for wet areas now available, homeowners can choose solutions tailored to their needs. Whether you opt for cementitious coatings, flexible liquid membranes or advanced sheet systems, professional application remains key. When combined with regular maintenance and timely inspections, these solutions ensure your home remains structurally strong, mould-free and visually pristine for decades.
The best bathroom waterproofing usually combines a primed substrate, a flexible liquid waterproofing membrane and proper sealing at all corners, joints and pipe penetrations. This system creates a continuous tanking layer under tiles, especially in shower zones and around floor drains, to prevent leaks long term.
Yes, DIY waterproofing is possible for small bathrooms or kitchens if you follow manufacturer instructions, use compatible primers, membranes and sealants and respect curing times. However, many building codes require certified applicators for warranty and compliance, so professional help is recommended for full renovations or basements.
Wet area waterproofing typically lasts 5–15 years for liquid or cementitious systems and 15–25 years for high-quality sheet membranes, assuming correct installation and maintenance. Regular inspections, intact grout and timely sealant renewal can significantly extend the effective lifespan of these systems.
Yes, kitchen floors should be waterproofed, especially around sinks, dishwashers and wet appliances where leaks and spills are common. A waterproof membrane beneath tiles or resilient flooring protects the subfloor and the adjacent rooms from moisture damage and future costly repairs.
Start by identifying the source: failed grout, damaged membranes, poor drainage or loose tiles. Localised issues may be solved by regrouting, resealing joints and improving falls. But, serious failures usually require removing tiles and reapplying a full waterproofing system and then retesting before retiling.