Concrete and Mortar

 Exterior Waterproofing


 Professional Sealants
 Roof Waterproofing


 Substructure Waterproofing
  Tiling and Grouting


 Water Tanks and Other Areas
  Wet Areas

How to Fix Tiles with Tiles Adhesive: A Step-by-Step Guide
Jul 5, 2025

Laying tiles may seem simple, but one wrong step can lead to loose edges, uneven surfaces, or premature cracks. That is why using the right tile adhesive and applying it correctly is key to getting a smooth, durable finish. With the right step-by-step on how to fix tiles with tiles adhesives approach, you can ensure a strong, clean and lasting finish.
How to Fix Tiles with Tiles Adhesive?
Here’s how to get it done like a professional.
- Prepare the surface
- Choose the right adhesive
- Mix the adhesive properly
- Apply adhesive evenly
- Place tiles on adhesive and press firmly
- Use spacers to maintain even gaps
- Let the adhesive set
- Fill gaps with grout and then clean
From selecting the right product to applying it like a pro, in this guide, you will learn how to fix tiles with tile adhesives and achieve long-lasting results that keep your home looking fresh.
Step 1: Prepare the Surface
Start with a clean slate. Your surface needs to be spotless, dry and level. Remove any dust, grease or old adhesive residue that could interfere with bonding. Think of this as laying the foundation for your tile fixing process. If you skip this step and you will likely face problems later.
Step 2: Choose the Right Adhesive
Not all adhesives are created equal. Cementitious tile adhesive works best for most ceramic and porcelain tiles, whilst epoxy-based options are ideal for wet areas like bathrooms. The key is matching your adhesive to your specific needs.
Step 3: Mix Adhesive as Per Manufacturer’s Instructions
If you are using powdered adhesive, mix it with water in a clean bucket using a mixing paddle. Aim for a smooth, lump-free consistency, it should look like thick cream. Follow the recommended ratios because getting this wrong can compromise your entire installation.
Step 4: Apply Tile Adhesive
Here’s where technique matters. Use a notched trowel held at a 45-degree angle to spread the adhesive evenly across small sections (about one square metre at a time). Those grooves you create are not just for show, they help eliminate air pockets and ensure proper bonding. For larger or heavier tiles, apply a thin layer of cementitious tile adhesive to the tile’s back as well. This ‘back buttering’ technique provides extra security.
Step 5: Place the Tiles and Press Firmly
Position each tile carefully and press down with a slight twisting motion. This ensures full contact with the adhesive. Keep checking your alignment with a spirit level, wonky tiles are much harder to fix later than to get right the first time.
Step 6: Use Spacers for Uniform Joints
Tile spacers are your best friend for achieving professional-looking results. They maintain consistent gaps between tiles, ensuring straight lines and even spacing throughout your project.
Step 7: Allow to Set for 24 Hours
Patience is essential here. Let the cementitious tile adhesive cure completely for at least 24 hours before walking on the tiles or applying grout. Rushing this step can undo all your hard work.
Step 8: Grout and Clean Tiles
Once everything’s set, remove the spacers and apply grout using a grout float. Clean off excess grout with a damp sponge before it hardens, then buff the tiles for that smooth finish.
Knowing how to fix tile with adhesives helps ensure a secure bond, long-lasting results and a clean, professional finish.
Why Should You Use Tile Adhesive Instead of Cement?
-
Superior bonding strength:
Tile adhesives provide a much stronger and more durable bond than traditional cement.
-
Flexibility:
They accommodate minor substrate movements, reducing the risk of tile cracks.
-
Water resistance:
Many adhesives are formulated to resist water, preventing mould and damage in wet areas.
-
Faster installation:
Cementitious tile adhesives set quicker, allowing for faster project completion and earlier grouting.
-
Ease of use:
Ready-to-use or easy-to-mix adhesives simplify the process and ensure consistent results.
Choosing the Right Tile Adhesives
One of the most commonly used adhesives is cementitious tile adhesive. It is a go-to choice for most applications. You can choose tile adhesive white or grey, depending on what suits best with the colour and material of your tile.
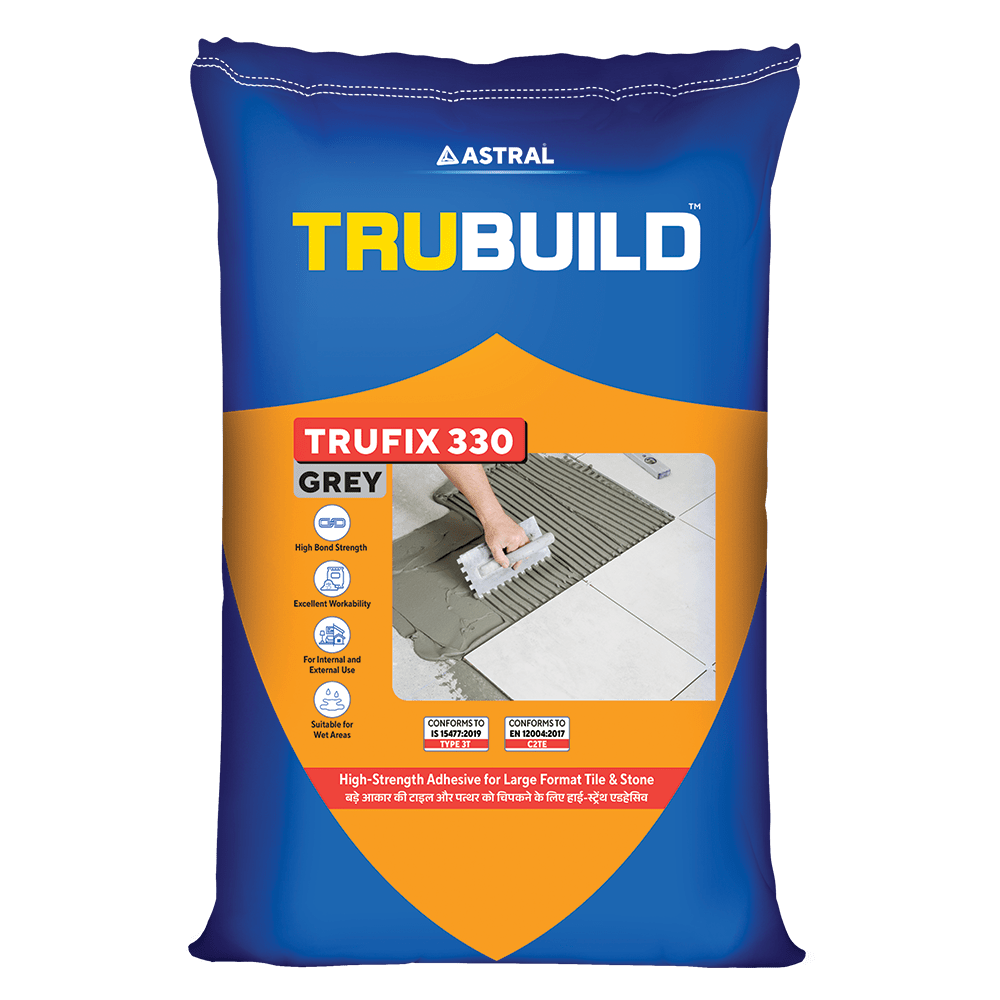
Consider Astral Trubuild tile adhesive TA 330. It is a ready-to-use, cement-based grey adhesive designed for fixing large-format ceramic, clay, terracotta, brick, quarry tiles and small semi-vitrified tiles. It is ideal for large-format tiles on floors/walls in interiors and exterior walls up to 10 ft height in dry and wet areas. This cementitious tile adhesive is the right choice for fixing tiles up to 600mm x 600mm. We at Astral Trubuild also offer tile adhesive white, you can explore more from our range of tiling and grouting solutions.
What Tools Do You Need to Apply Tile Adhesive?
- Notched trowel (for spreading adhesive evenly)
- Buckets (for mixing adhesive)
- Mixing paddle or drill attachment
- Tile spacers (for uniform joints)
- Tile cutter or wet saw (for custom cuts)
- Rubber mallet (to gently tap tiles into place)
- Spirit level (for alignment)
- Grout floa
What Are Common Mistakes to Avoid When Fixing Tiles?
- Using the wrong adhesive for the tile or substrate
- Poor surface preparation (unclean or uneven surfaces)
- Incorrect adhesive mixing (wrong consistency or ratios)
- Uneven adhesive application, leading to hollow spots
- Ignoring open and set times (grouting or walking on tiles too soon)
- Inadequate coverage (not enough adhesive under tiles)
- Skipping expansion joints in large or outdoor areas, causing cracks
By following these steps and best practices during the tile fixing process, to can achieve a professional, durable and visually appealing tile installation.
FAQ
What is tile adhesive and why is it better than cement for fixing tiles?
Tile adhesive is a specially formulated bonding material designed for tile fixing to floors or walls. It offers stronger adhesion, flexibility and water resistance compared to traditional cement. It is suitable for a wide range of tile types and substrates, which makes it a preferred choice for modern tiling projects.
How do I prepare the surface before applying tile adhesive?
Begin by ensuring the surface is clean, dry, level and free from dust, grease or loose particles. Repair any cracks or uneven areas and remove old adhesive or paint. For highly absorbent or dusty surfaces, apply a suitable primer to enhance adhesion. Proper surface preparation is important for achieving a strong, long-lasting bond and preventing future issues with tiles, like lifting or cracking.
How do I mix tile adhesive correctly?
Always follow the manufacturer’s instructions regarding the tile fixing process. Pour the recommended amount of clean water into a bucket, gradually add the adhesive powder and mix using a paddle mixer or drill attachment. Mix until you achieve a smooth, lump-free consistency. Let it stand for a few minutes (slake), then remix before use. Avoid adding extra water, as this can weaken the adhesive’s performance.