 Concrete and Mortar
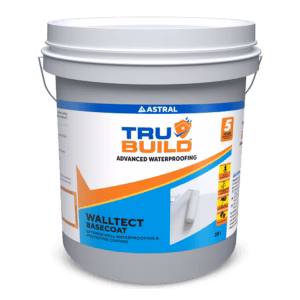
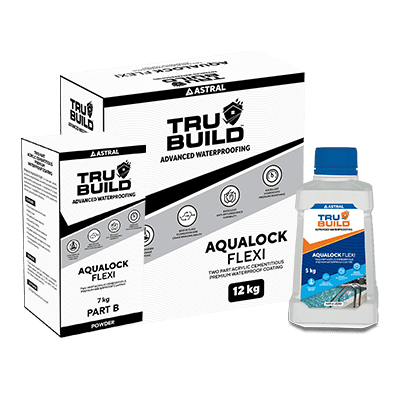
 Exterior Waterproofing
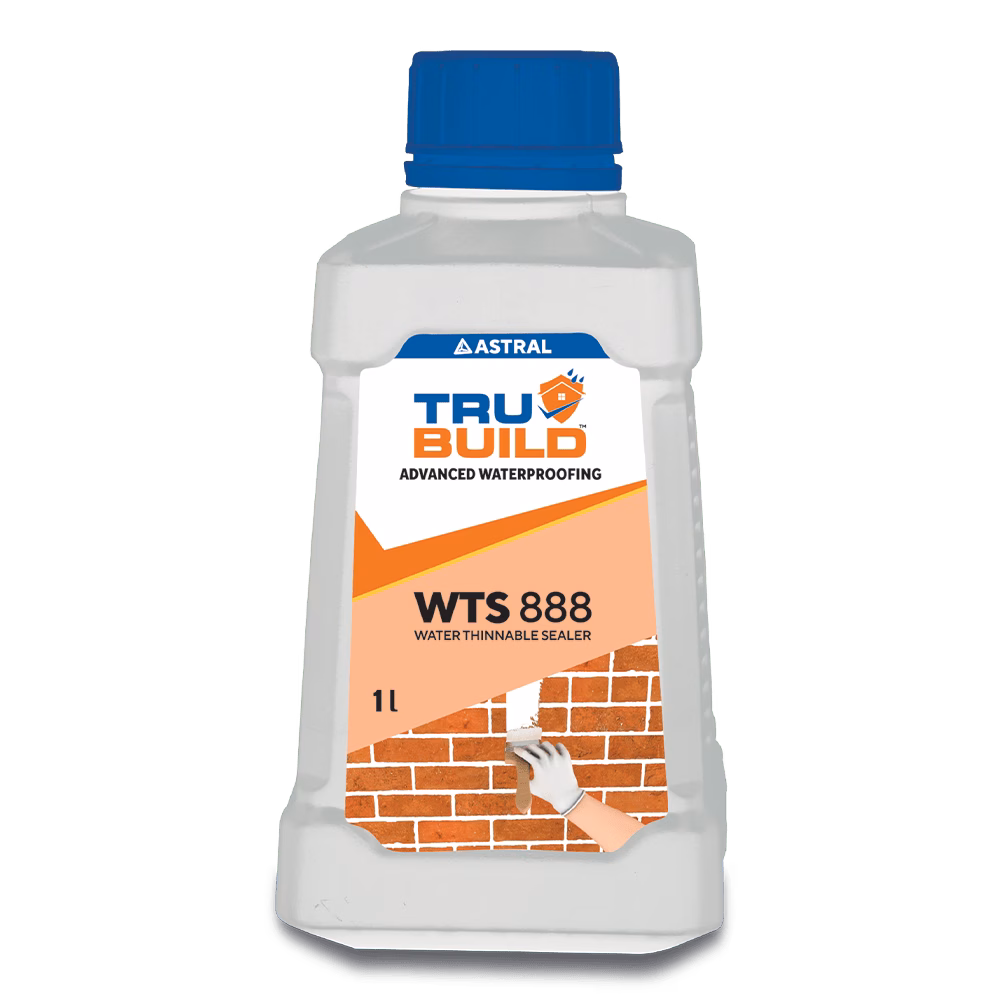
 Professional Sealants
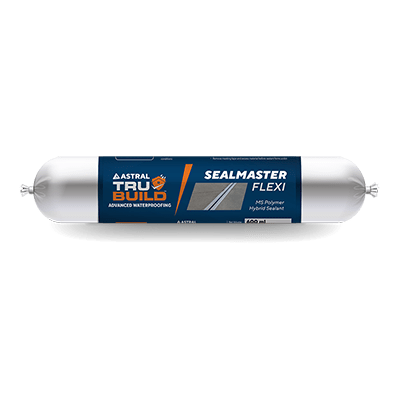
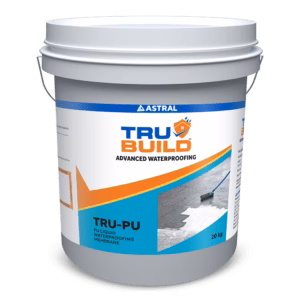
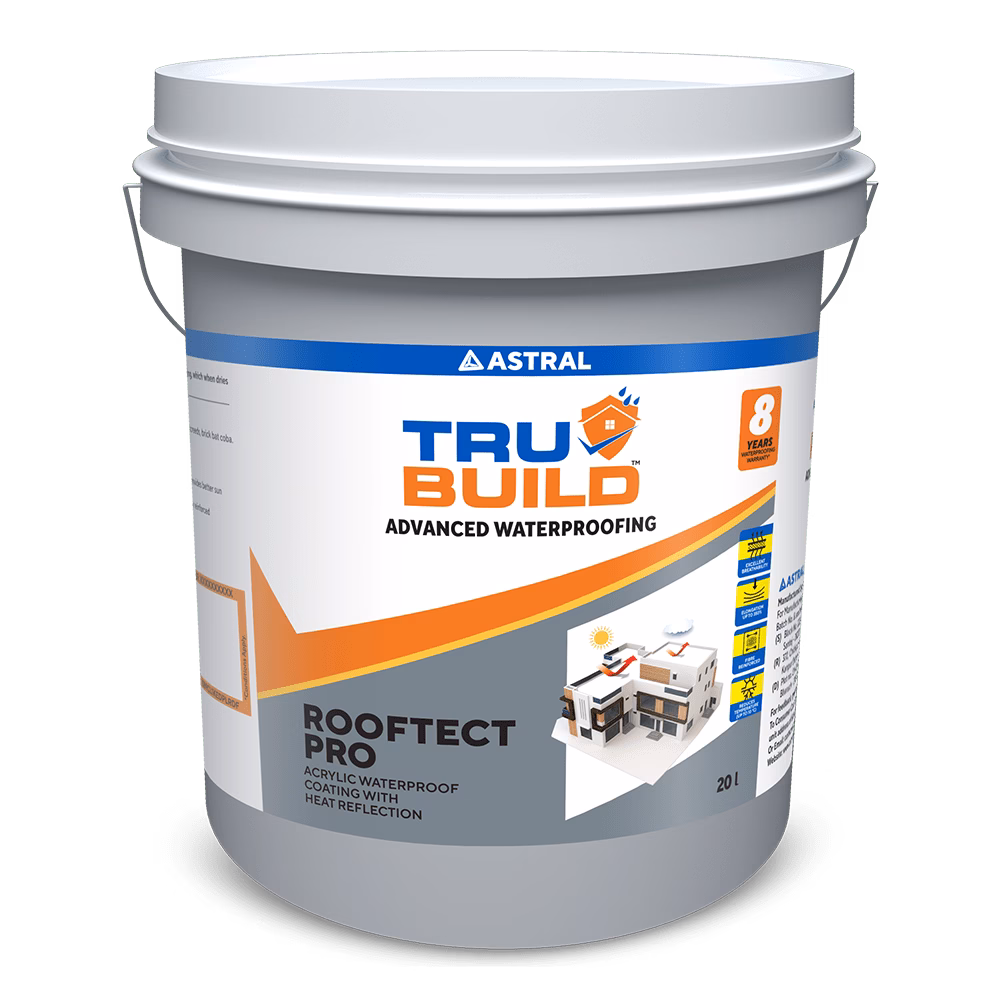
 Roof Waterproofing


 Substructure Waterproofing
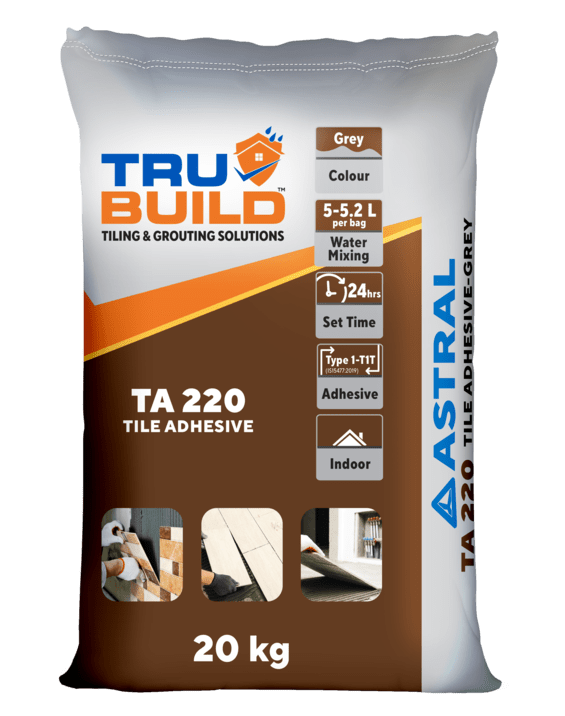
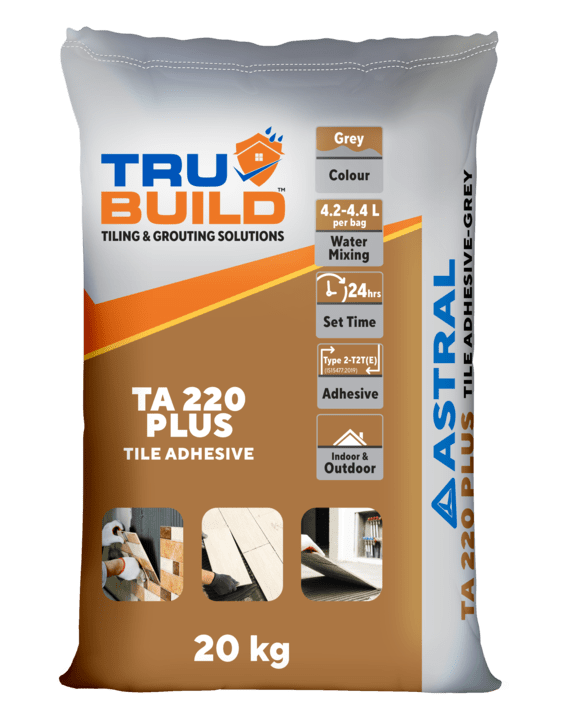
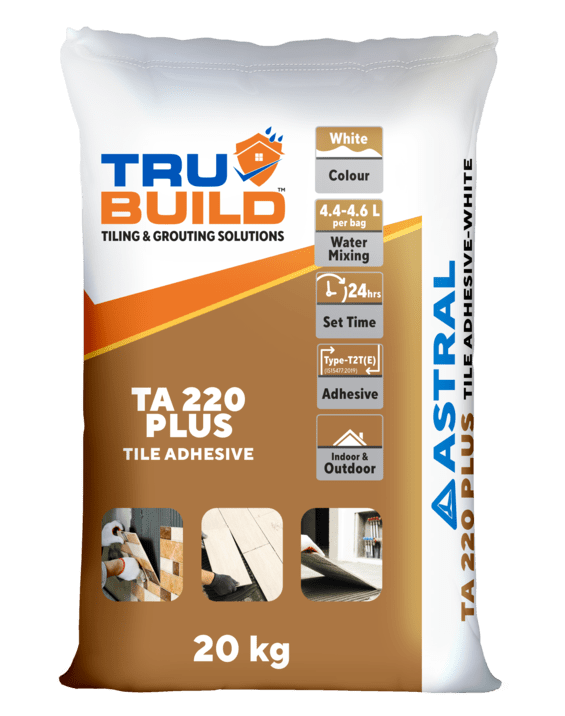
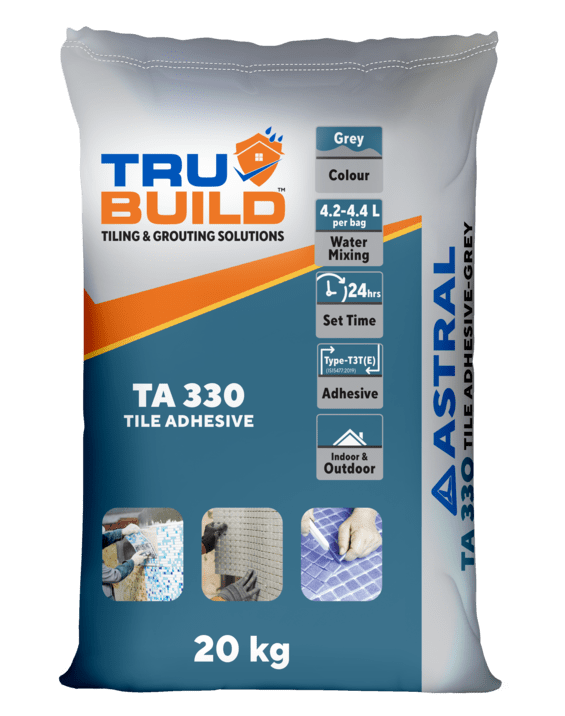
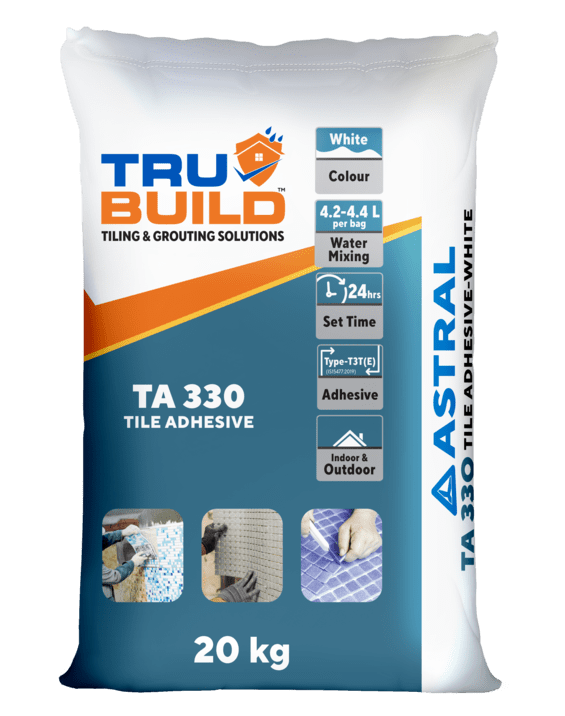
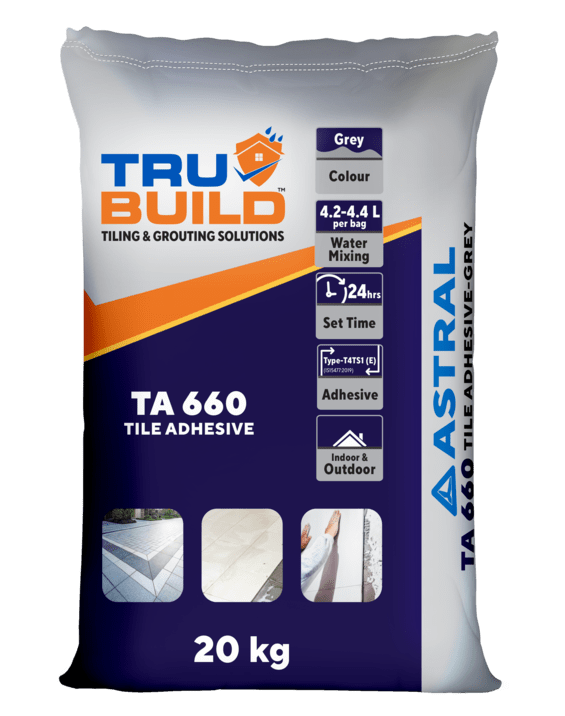
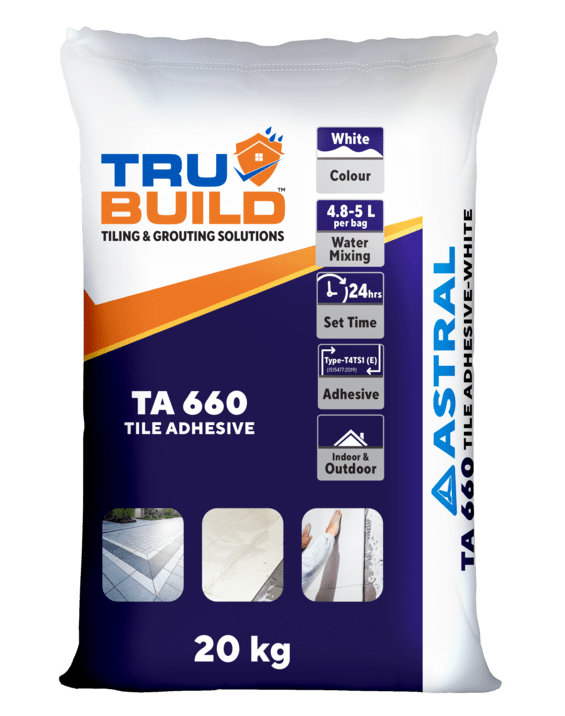
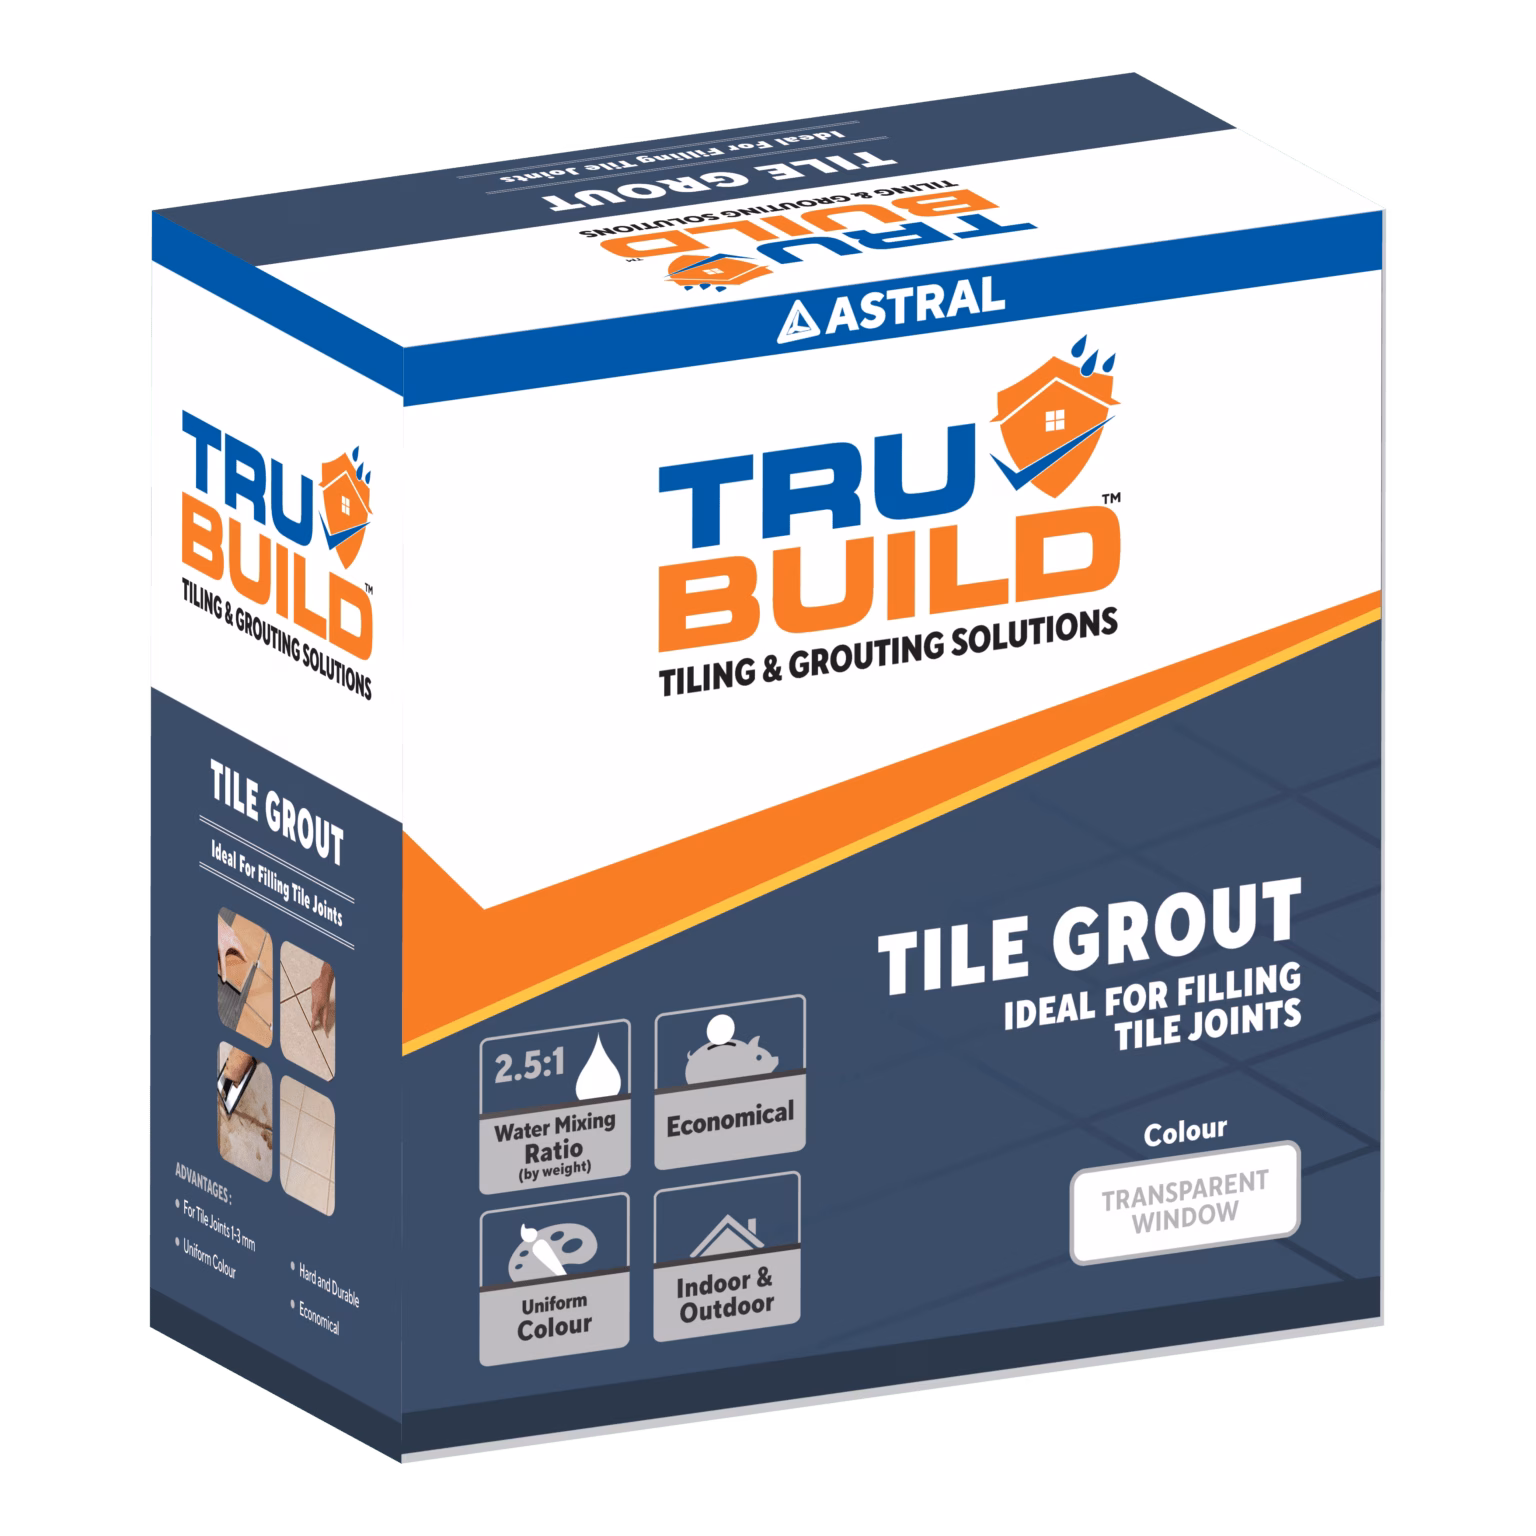
  Tiling and Grouting

 Water Tanks and Other Areas
  Wet Areas

DIY Steps for Waterproofing Your Roof: A Complete Guide
Apr 3, 2025

Leaks, damp patches on the ceiling, or a musty smell in your home are warning signs of roof problems that need quick attention. Roof-related water damage is one of the most common problems faced by homeowners, particularly during monsoons or when routine maintenance is overlooked. Often, it begins with a small leak and progresses to expensive repairs or even health hazards due to mould growth. This guide outlines simple, practical DIY steps for waterproofing to ensure a leak-free and protected home.
Why Is Waterproofing Your Roof Important?
Waterproofing your roof is essential to maintaining the structural health of your home. Without it, rainwater and moisture can seep into ceilings, walls and even your foundation. This causes damp patches, cracks, mould growth and corrosion over time. Proper waterproofing of roof extends the lifespan of your property and ensures comfort and safety.
For a deeper understanding of how waterproofing of roof protects your property, check out our detailed guide on the importance of terrace and roof waterproofing. Whether you are dealing with recurring leaks or just planning preventive maintenance, roof waterproofing is a smart step every homeowner should consider.
7 DIY Steps for Waterproofing for Roof
Step 1: Clean and Inspect the Roof
Begin by thoroughly cleaning your roof to remove dust, leaves, algae and stains. This ensures the waterproofing chemicals can adhere to the surface properly. Use a broom or high-pressure water spray. After cleaning, allow the roof to dry completely.
- Check for cracks, uneven surfaces or signs of water damage
- Determine whether you have a flat or sloped roof; this will affect the waterproofing process
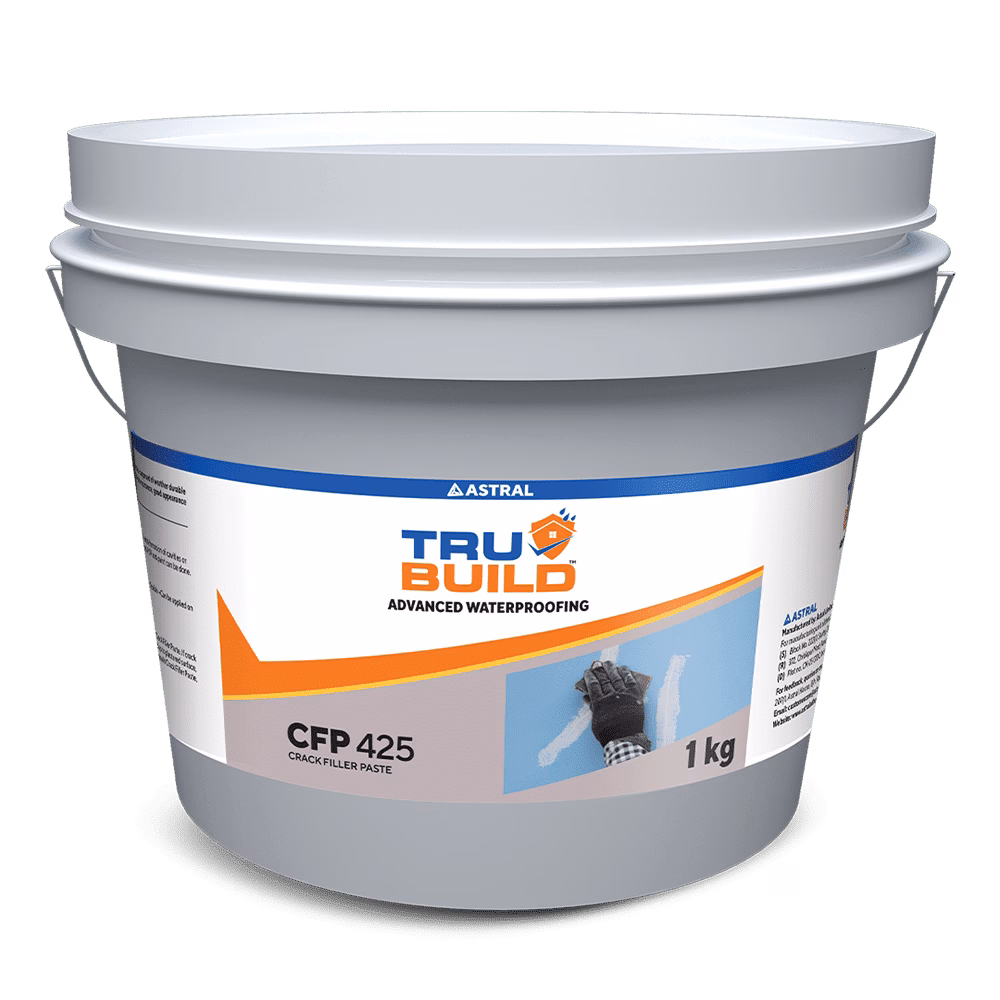
Step 2: Fill Cracks and Gaps
Cracks are prime entry points for water seepage and rainwater logging. To prevent long-term damage, use a gap-filling product like a sealant or crack filler. This helps block moisture from entering and stops future leaks.
- Make a V-shaped cut in the visible cracks. This shape helps the filler stay in place better
- Apply two coats of the filler using a putty knife and press firmly to ensure the product is packed in well
- Let it dry for 24 hours before moving to the next step
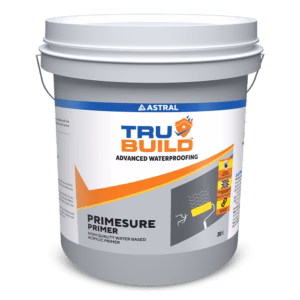
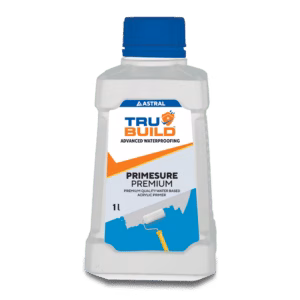
Step 3: Prime the Surface
Applying a waterproofing primer improves adhesion and ensures the longevity of the topcoat.
- Dilute the first coat (usually 10%) and apply it evenly with a brush or roller
- Follow up with an undiluted coat for a more robust seal
- Allow it to dry for 6 to 8 hours
Step 4: Apply the First Base Coat
Use a high-quality waterproofing solution designed for roof surfaces.
- Mix as per product instructions and apply the first coat using a brush or roller
- Focus on areas prone to stagnation or leakage
- Let the first coat dry for 12 to 16 hours
Step 5: Add a Second Waterproofing Layer
For stronger protection, a second coat is essential.
- Apply it perpendicular to the first for uniform coverage
- Allow the coating to dry completely, this step boosts the effectiveness of your roof waterproofing
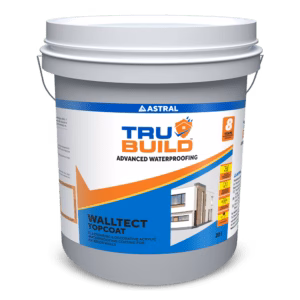
Step 6: Use a Weather-Proof Topcoat
A weather-resistant exterior paint or topcoat adds a barrier against rain and UV rays.
- Apply 2–3 coats, with adequate drying time between each
- This step enhances the protection and the appearance of your roof
Step 7: Inspect and Finalise
After all coatings have cured, do a final inspection:
- Look for missed spots or areas with thin coverage
- Apply touch-ups as required and let the roof cure for another 48–72 hours
By following these DIY waterproofing steps carefully, you will be able to address minor issues like roof leak repair DIY and ensure long-lasting protection without needing to overhaul your roof.
5 Pro Tips for a Seamless Waterproofing Process
-
Choose the Right Weather:
Pick a dry, sunny day for best results. Humidity or rain can hinder curing.
-
Safety First:
Wear gloves, goggles and non-slip footwear. Use a harness for sloped surfaces.
-
Stick to Instructions:
Always follow the manufacturer’s guidelines for dilution, application and drying times.
-
Schedule Annual Checks:
Inspect your roof at least once a year and reapply coatings every 5–7 years.
-
Know When to Call Experts:
While DIY waterproofing is possible, consult professionals if your roof has severe structural issues.
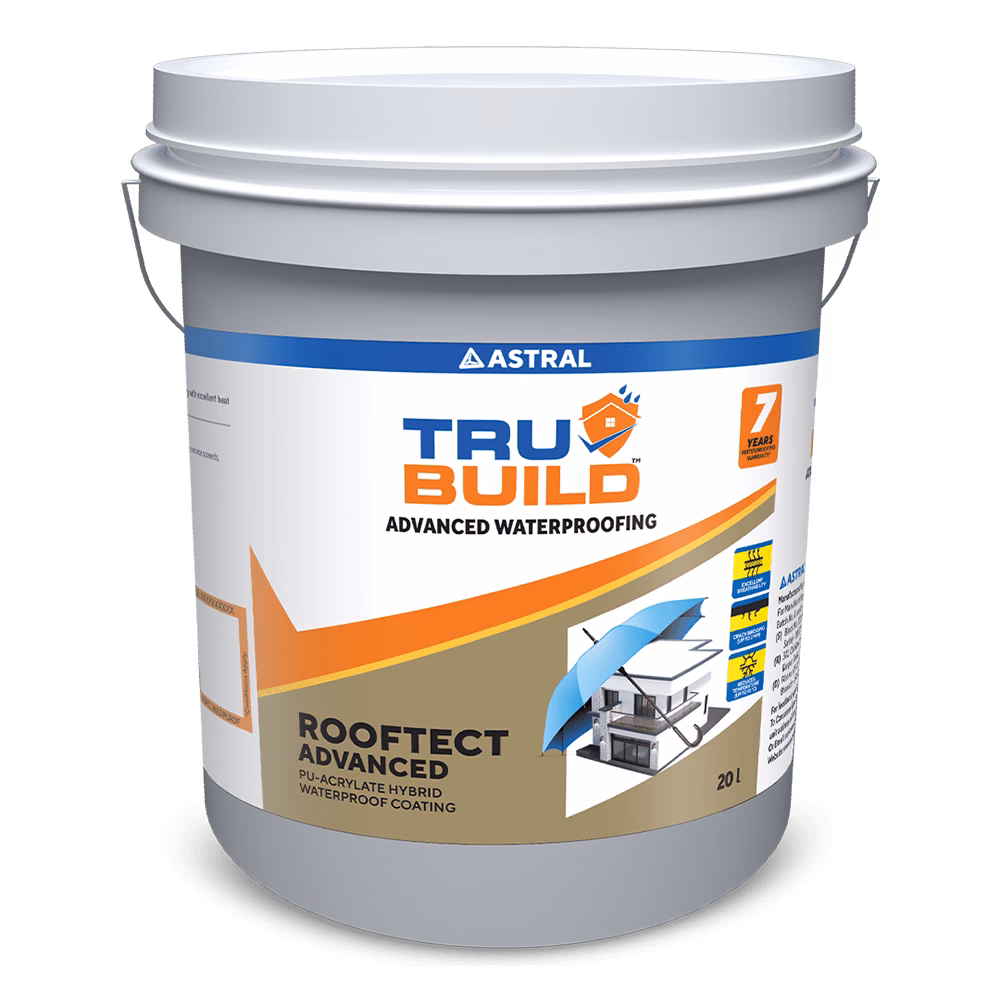
Choose Premium Solution for Optimal Roof Waterproofing
Roof waterproofing is straightforward with the right materials and step-by-step guidance. These waterproofing techniques protect your home from leaks and moisture damage while extending its structural lifespan.
For optimal results, consider using high-quality products like Trubuild Rooftect Advanced, a PU acrylate-based waterproofing system with excellent elongation and crack-bridging capabilities. Its unique formulation provides an exceptional barrier against water and heat while offering outstanding reflectance properties for improved energy efficiency. For the best results always prioritise quality waterproofing solutions like Astral Trubuild’s premium range.
Taking the time to waterproof your roof today can save you from costly repairs and discomfort in the future. With the right techniques and trusted products, you can ensure your home stays safe and structurally sound for years to come.